
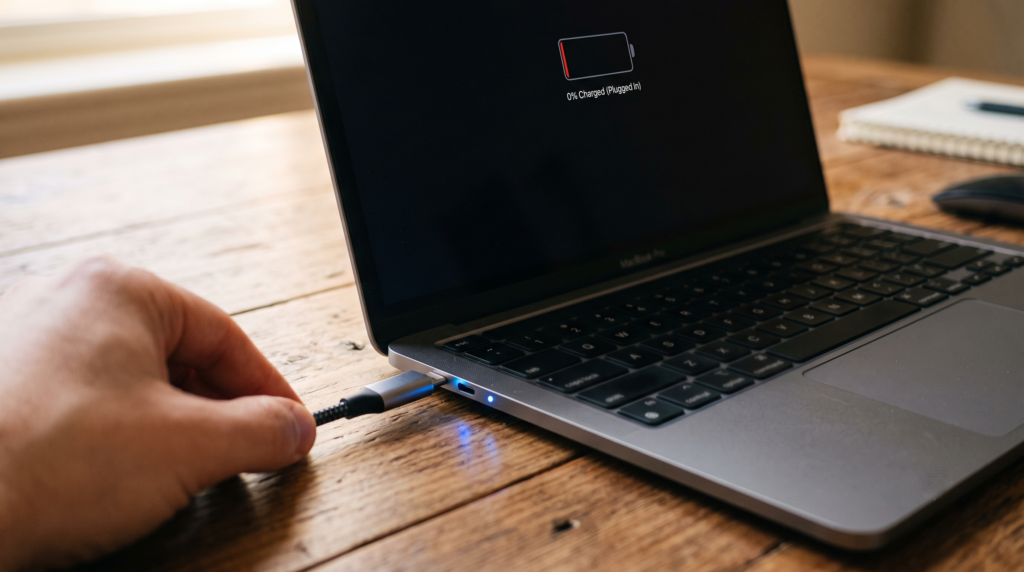
It is one of the most frustrating feelings in the world: you plug in your laptop, the charging light comes on, but the battery icon stubbornly reads “Plugged in, not charging” or stays stuck at 0%. You pull the plug, and the laptop dies instantly.
Before you assume your battery is completely dead and rush out to buy an expensive replacement, take a deep breath. In this comprehensive guide, we are going to walk through several step-by-step software and hardware fixes that will help you diagnose the root cause and share the exact physical method that finally got my laptop charging again.
Step 1: Track the Exact Day the Issue Started (Battery Report)
Before changing any settings, we need to gather data. Windows keeps a hidden, incredibly detailed log of your battery’s health and history. This helps us see if your battery died naturally over time or if a sudden software glitch or Windows update broke it.
- Right-click the Start button and open Command Prompt (Admin) or Windows Terminal (Admin).
- Type the following command exactly as shown and hit Enter:DOS
powercfg /batteryreport - Command Prompt will output a file path (usually saving an HTML file to
C:\Windows\system32\battery-report.html). - Open File Explorer, navigate to that path, and open the
battery-report.htmlfile in any web browser.
Analyzing the Clues
When I looked closely at my own battery report, I noticed a massive clue: my battery stopped taking a charge precisely on October 18th. The history showed the charge slowly depleting to 0% on that exact day, and it never went back up.
Cross-referencing this with my update history, I realized my laptop received a critical system firmware update on that exact same day. If your battery report shows a sudden drop matching an update, you are likely dealing with a software or firmware bug rather than physical battery failure!
Step 2: Force-Run the Windows Power Troubleshooter
Windows features built-in automated scripts designed to detect and reset corrupt power management profiles.
Normally, you would navigate to Settings > System > Troubleshoot > Other troubleshooters and look for the Power option. However, if you are running newer versions of Windows 11, you might notice Microsoft has removed the standalone Power Troubleshooter button from the Settings UI.
If it is missing for you too, you can manually force it to launch using a hidden system command:
- Open Command Prompt (Admin).
- Paste the following diagnostic string and press Enter:DOS
msdt.exe -id PowerDiagnostic - The legacy Power Troubleshooter wizard will pop up on your screen. Click Next and let Windows automatically scan, repair, and optimize your system’s sleep, timeout, and battery charging configurations.
Step 3: Refresh or Uninstall the ACPI Battery Drivers
If Windows thinks your battery is a generic unknown device, it will stop sending power to it. We can fix this by completely reinstalling the communication interface between the Operating System and your physical motherboard.
- Press
Windows Key + Xand select Device Manager. - Scroll down and double-click to expand the Batteries section.
- Right-click on Microsoft ACPI-Compliant Control Method Battery and click Update driver to let Windows check for an official signature update.
If your software is already up to date but still stuck at 0%, we need to execute a clean reset:
- Right-click Microsoft ACPI-Compliant Control Method Battery again, but this time select Uninstall device.
- Confirm the prompt and restart your computer immediately.
- Upon reboot, Windows will notice the battery driver is missing and automatically reinstall a fresh, uncorrupted copy of the official driver from scratch.
Step 4: Run Official Manufacturer Diagnostic Tools
Generic Windows tools can only go so far. Motherboard brands build dedicated diagnostic utilities that read raw hardware chips to give you an unedited look at your battery cell health.
Depending on your brand, head directly to their official web support portals to run a scan:
- Dell: Visit the Dell Support Center to download Dell SupportAssist and the Dell Power Management Service.
- HP: Access the HP Customer Support portal for the HP PC Hardware Diagnostics utility.
- Lenovo: Check out Lenovo Technical Support to access Lenovo Vantage.
- Acer: Go to the Acer Service & Support page to get the Acer Care Center.
In my case, running Dell SupportAssist initially gave me a scary warning text: Battery: Failure. However, when I opened the specialized Dell Power Management tool, it gave me a deeper, conflicting reading:
⚠️ The Critical Diagnostic Turning Point: If your manufacturer software shows your battery condition is Poor, Weak, or Dead, the internal lithium cells have degraded past the point of safety, and you truly must buy a replacement. But if the health status reads Good or Excellent while remaining stuck at 0%, your battery is perfectly fine—the hardware is simply locked up.
Step 5: The Ultimate Fix — The Hard Static Discharge (Deep Reset)
If you have tried every single step above and nothing has worked, this final physical method is exactly what solved the problem for me. Sometimes, a firmware error traps a tiny static electrical charge inside the motherboard capacitors, causing the charging logic gates to lock up defensively. We need to completely bleed the system dry of electricity.
1.Shut down and disconnect:Safety first.
Completely shut down your laptop. Unplug the AC power adapter, mouse, USB hubs, and all other connected peripherals.
2.Access the physical battery:Requires opening the shell.
If your laptop has an older external sliding latch battery, pop it out carefully. If you have a modern laptop with an integrated internal battery, flip it over, remove the small screws securing the back panel, and gently lift the cover away. Locate the long plastic battery pack and gently unplug its multi-pin cable connector from the motherboard.
3.Bleed the residual static electricity:The key step.
With the battery completely disconnected and the power cord unplugged, press and hold your laptop’s physical power button down continuously for 15 to 20 seconds. This drains every millivolt of residual electrical energy trapped inside the system capacitors, forcing a hard reset on the charging controller chip.
4.Reassemble and fire it up:Restoring connections.
Firmly plug the battery connector back into the motherboard socket (or slide the external battery back in place). Screw the base cover back onto the laptop, plug your wall charger in, and power the machine back on.
Immediately after doing this static drain, my laptop recognized the power adapter again, and the battery counter instantly began climbing upwards from 0%!
Pro Tips & Advanced Troubleshooting (Expert Value-Add)
As a computer engineering specialist, I want to leave you with a few extra advanced diagnostic steps if your laptop is still acting up after attempting a hardware reset.
1. Inspect the AC Adapter Center Pin
Modern laptops (especially Dell and HP) use a smart power supply system. If you look closely inside the circular tip of your charging barrel, you will see an incredibly thin metal needle. This is the ID Pin.
If this pin is slightly bent or caked with lint, the laptop will safely draw power to turn on, but it won’t recognize the charger’s correct wattage capacity. As a safety measure, it will intentionally refuse to charge the battery. Clean it gently with a non-conductive wooden toothpick or compressed air while the charger is unplugged.
2. Check for BIOS/UEFI Disconnects
If a firmware update caused this issue, entering your system BIOS can bypass Windows entirely to let you see if the hardware itself is acting up:
- Restart your computer and repeatedly tap the
F2,F12, orDelkey (depending on your brand) before the Windows logo appears. - Navigate to the General / Power Information menu.
- Look for AC Adapter Type. If it reads Unknown, your charger or charging port is broken. If it recognizes your exact charger wattage (e.g., 90W or 130W) but still won’t charge, the problem lies squarely in the battery connection itself.
3. A Quick Warning Regarding Repair Shops
If your battery health shows as “Good” or “Excellent” inside your manufacturer tools, but you don’t feel comfortable opening up your laptop case to unplug the internal battery connector, don’t worry! You can easily take it to a local repair technician.
However, keep them honest. Arm yourself with the knowledge you learned here: show them that your software diagnostics prove the battery cell health is structurally perfect. Tell them explicitly: “I just need a quick physical static reset by unplugging the battery cable for 20 seconds.” Do not let a predatory shop convince you that you need to pay hundreds of dollars for a motherboard replacement or a brand-new battery!
The Final Step: Over to You!
Sometimes, seeing a hardware fix done on camera makes all the difference before you pick up a screwdriver. If you want a visual, step-by-step walkthrough of exactly how to unscrew the panel, locate the battery cable, and drain that residual power safely, watch the complete video tutorial linked below.
We’ve laid out the entire process visually so you can follow along in real-time and avoid making any mistakes:
Quick Tip for Readers: If you found this guide helpful, make sure to drop a comment below letting me know which step brought your laptop back to life! Don’t forget to subscribe to the Tech2AI YouTube Channel and smash the notification bell so you never miss out on highly actionable, step-by-step fixes for your software, hardware, and OS issues.